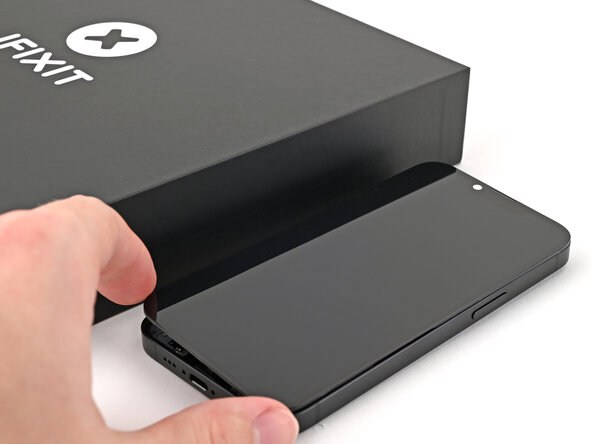
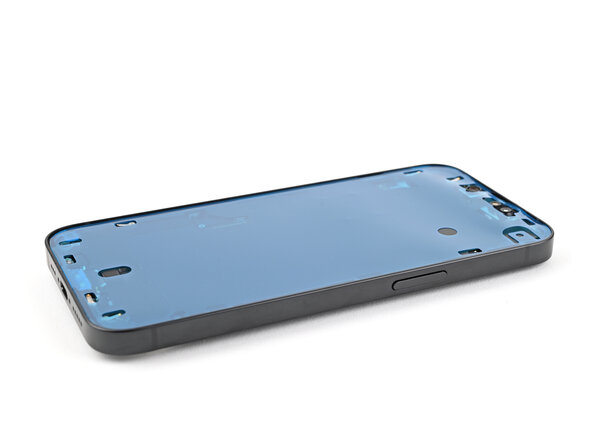
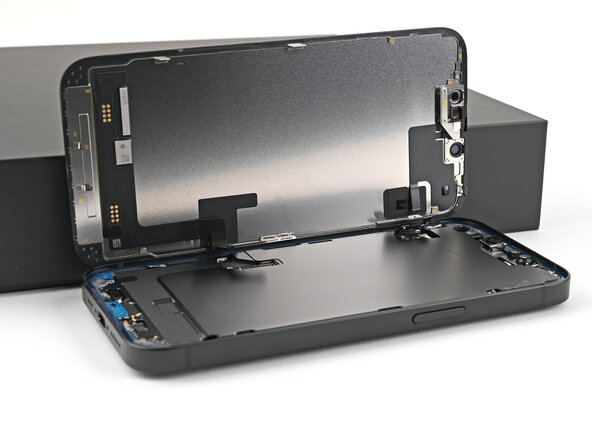
iPhone 16e Screen Replacement
Duration: 45 minutes
Steps: 41 Steps
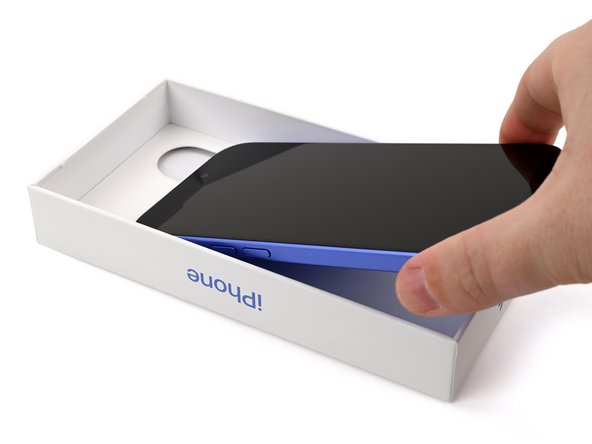
Follow this guide to swap out that cracked, shattered, or unresponsive screen on your iPhone 16e. You'll need some replacement screen adhesive to get the job done. A heads up: since you can't disconnect the battery during this repair, be extra cautious when handling any exposed parts or using metal tools. Once you're done, make sure to calibrate your screen with Apple's Repair Assistant for the best results. A few of the photos here come from a different model, so they might look a little different, but no worries—they won’t mess with the steps.
Step 1

Let your device's battery naturally drain below 25%—a fully charged lithium-ion battery can sometimes be a bit of a safety concern. Best to let it chill out before proceeding!
- Disconnect all cables from your phone to get it ready for the magic.
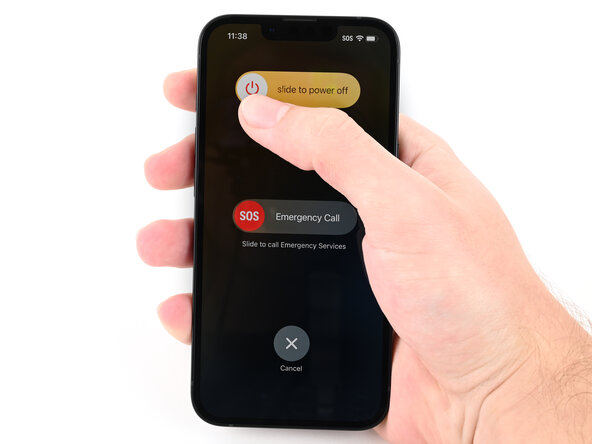
- Press and hold the power button along with either volume button, then swipe to turn off your device—easy peasy!
Step 2
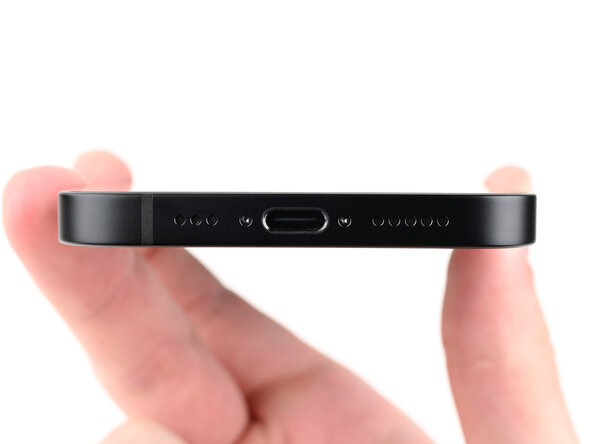
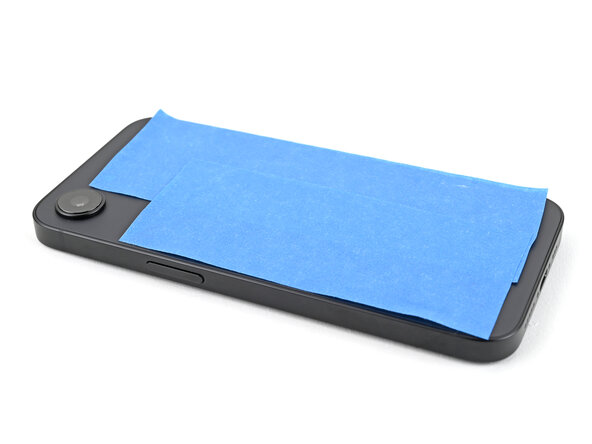
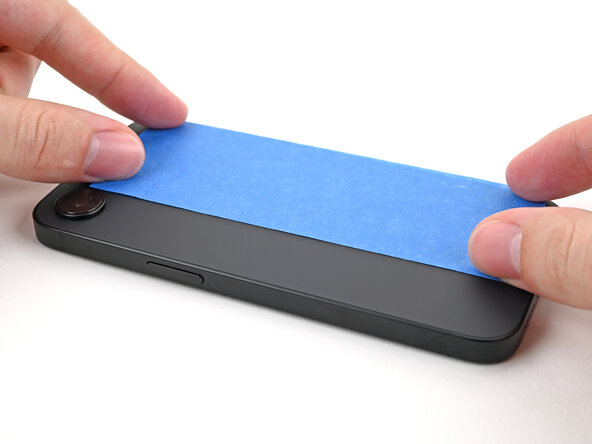
Ensure there's a smooth, sticky surface near the bottom edge that's just the right size for a suction cup—this gives you a solid grip to start peeling or lifting the device safely.
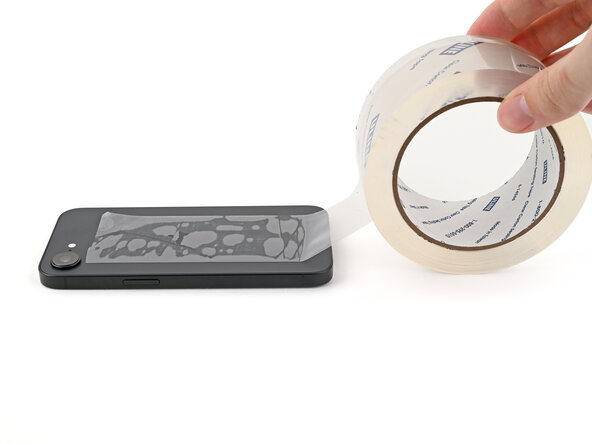
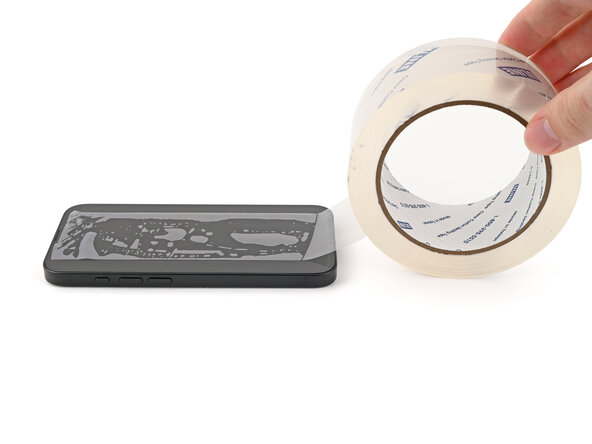
- If your screen or back glass has a serious crack, grab some packing tape and lay down a few strips, overlapping them across the glass. This will keep you safe and make the disassembly process a whole lot easier.
Tools Used

Step 3
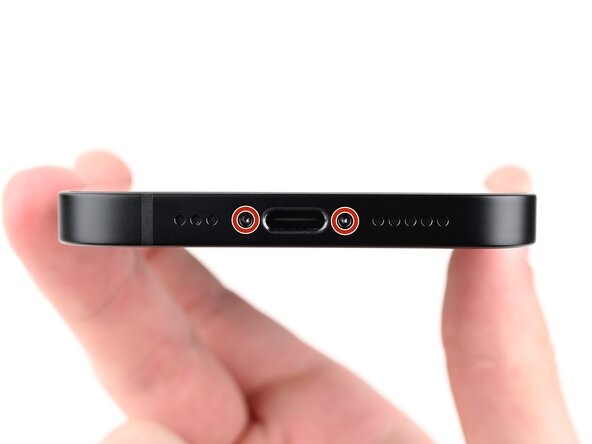
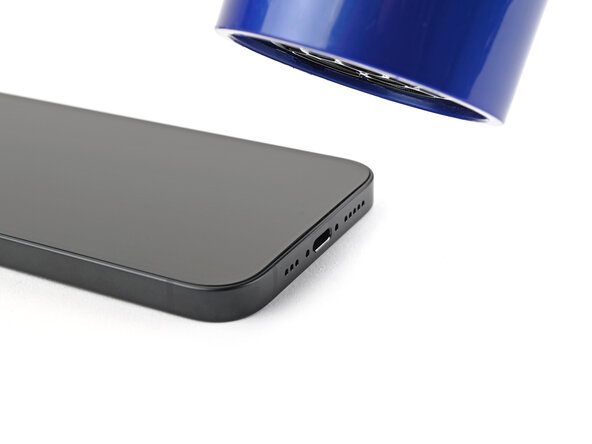
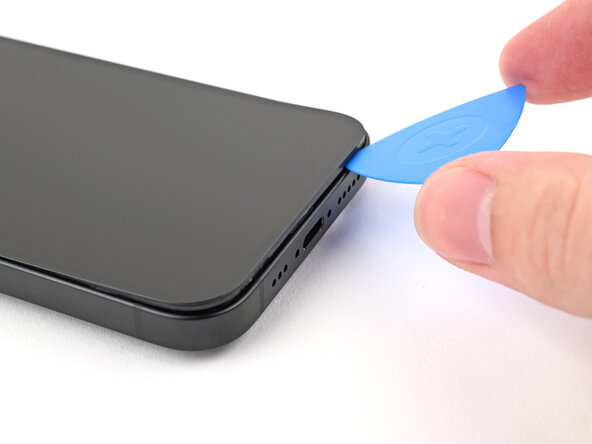
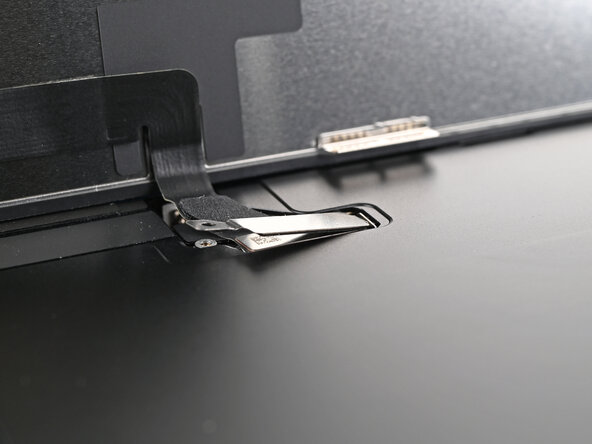
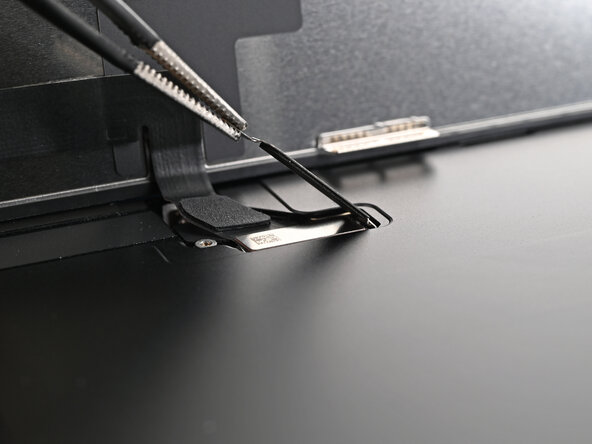
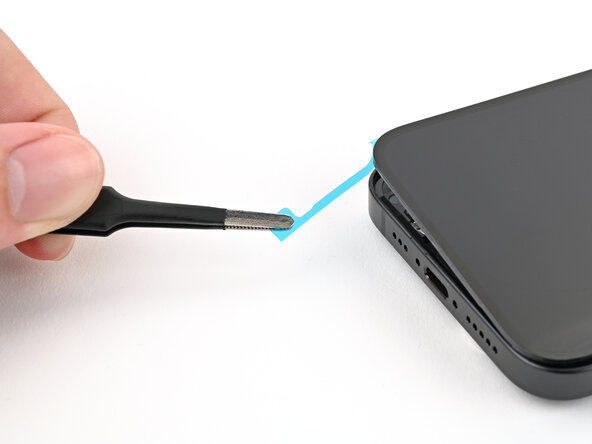
- Grab your trusty P2 pentalobe screwdriver and carefully unscrew the two 7.8 mm-long screws on both sides of the charging port. You're almost there!
Step 4


If you push the pick in too far, it could hurt your device. To avoid that, mark the pick so you can easily stop at the right spot.
Feel free to mark the other corners of the pick too, just to keep things consistent.
Another quick trick? Tape a coin 3mm from the tip of the pick for a perfect guide.
If you're looking for a safer option, Apple has an Adhesive Cutter tool available in their Self Repair Store, perfect for cutting the display adhesive without a hitch.
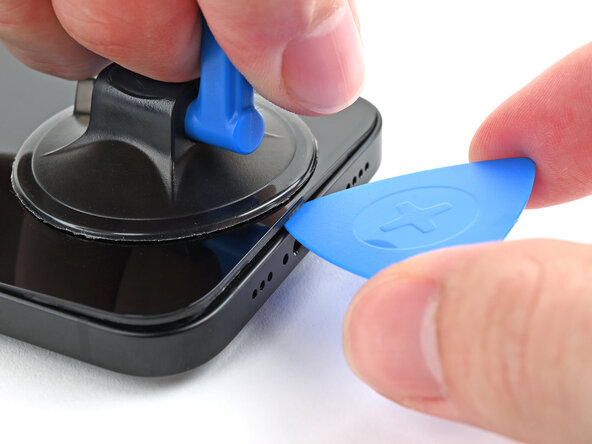
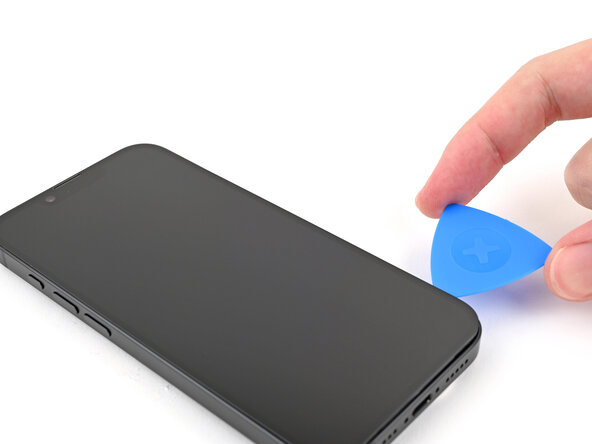
- Using a ruler or a measuring tool, mark 3mm from the tip with a permanent marker so you know exactly where to make your opening cut.
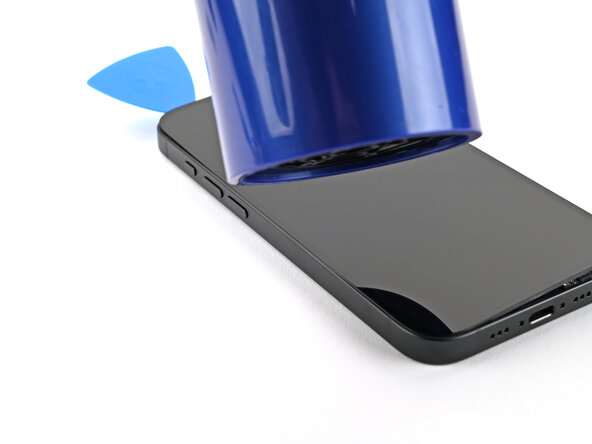
Step 5
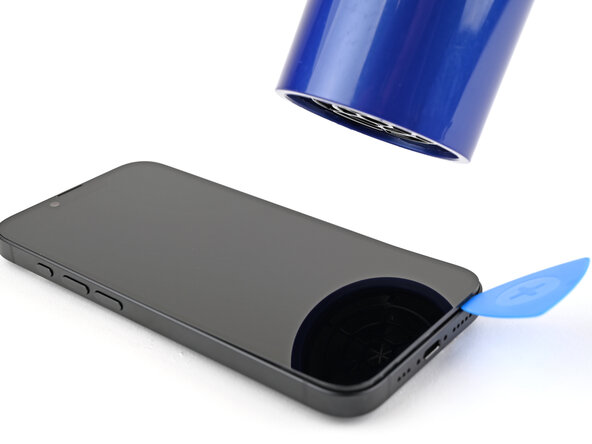
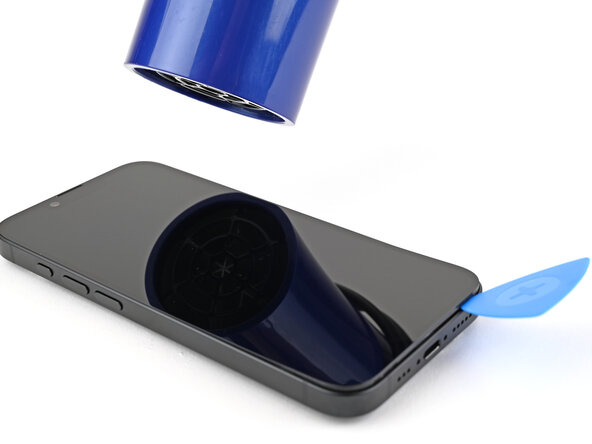
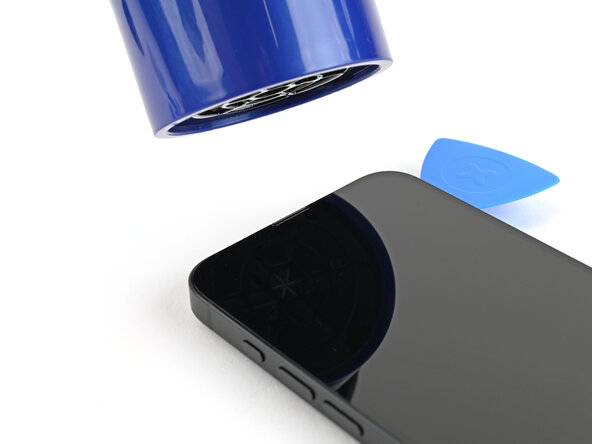
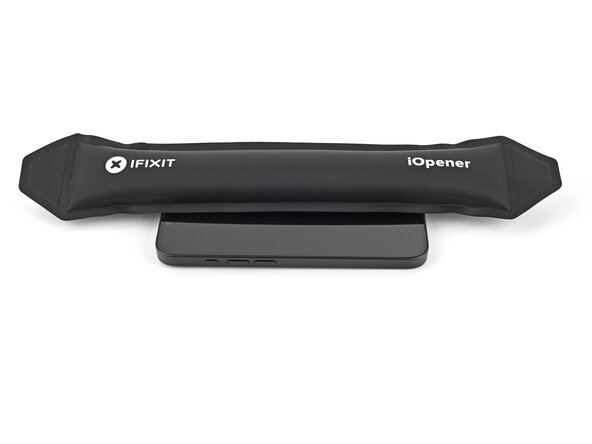
You can also grab an iOpener to warm up the screen. Just follow the steps to heat it safely and get it ready for use.
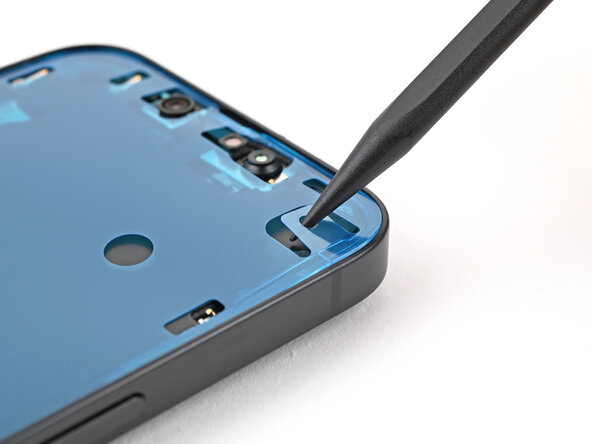
- Grab a hair dryer or heat gun and gently warm up the bottom edge of your screen until it feels comfortably warm to the touch. Keep the heat moving to avoid any damage and make the next steps a lot easier!
Tools Used


Step 6
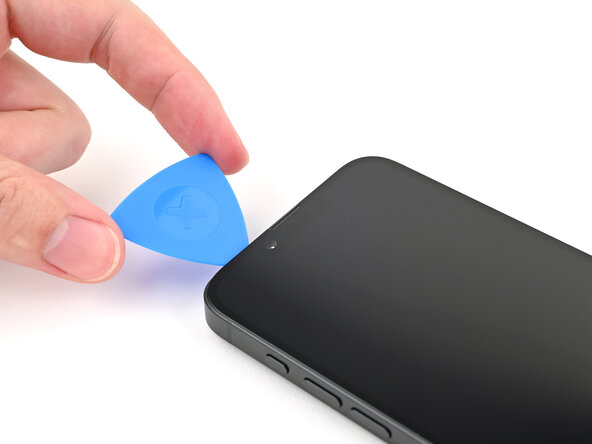
When lifting the display, slide your pick gently under the bezel first—this helps keep the screen layers intact and avoids damage. Patience and a steady hand will keep everything safe and sound.
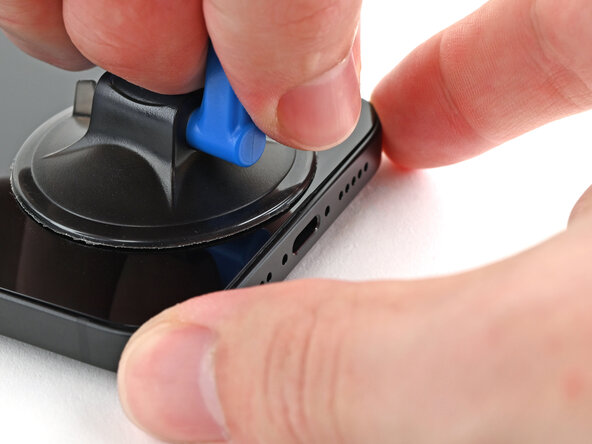
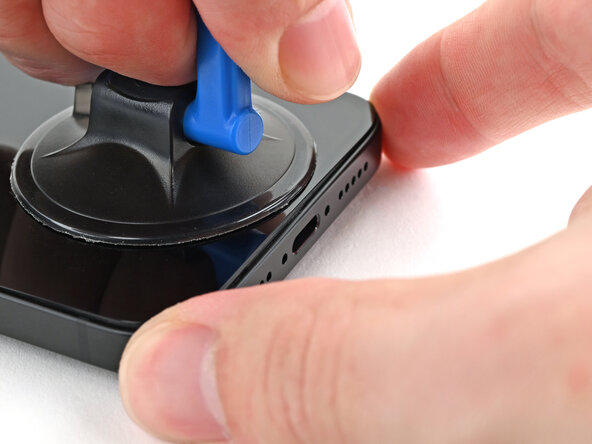
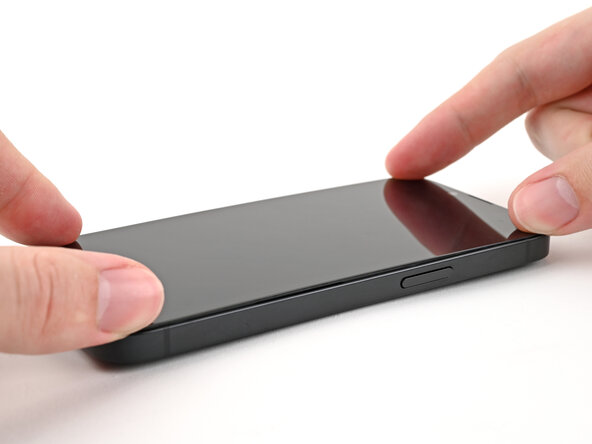
- Stick a suction cup onto the bottom edge of your screen.
- Hold the frame steady with one hand, then gently lift the suction cup with the other, using steady, firm pressure to create a little space between the screen and the frame.
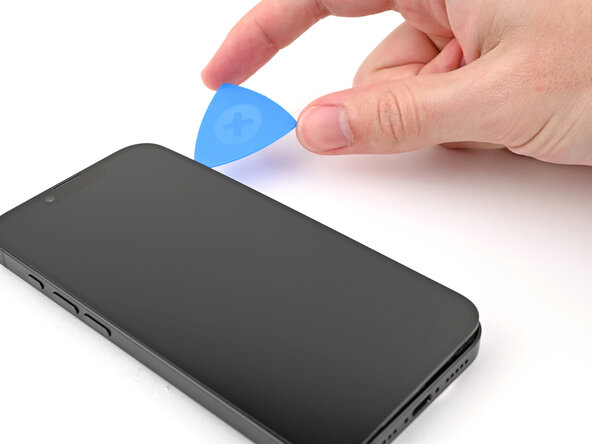
- Carefully slip the tip of an opening pick into that gap to start separating the parts.
Tools Used

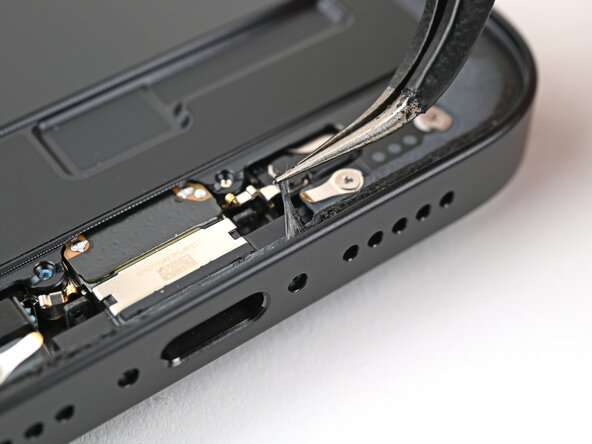
Step 7
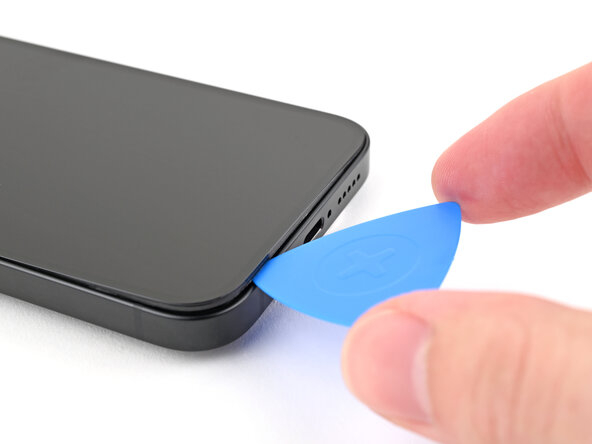
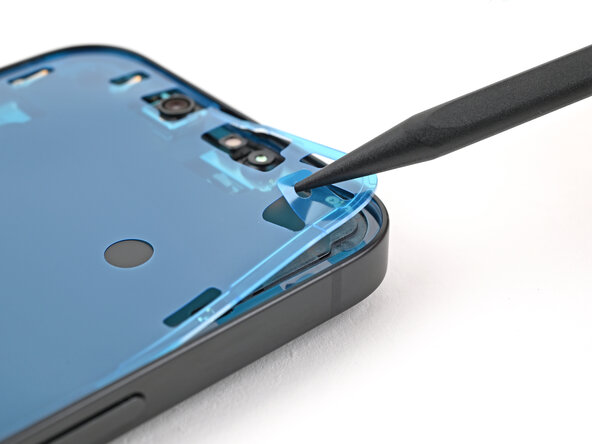
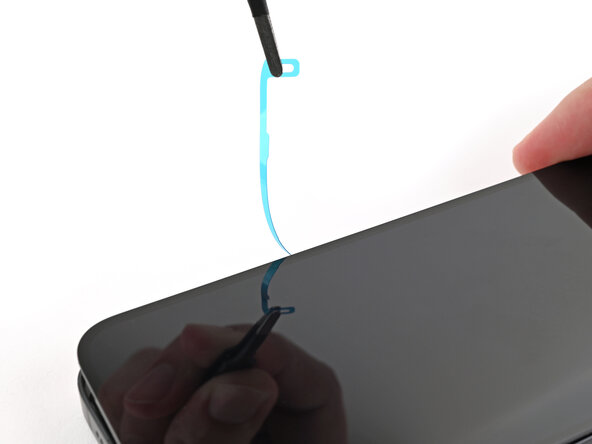
As you gently lift the adhesive to free the screen, keep your pick no more than 3 mm deep — stay within that range to keep everything safe and sound beneath!
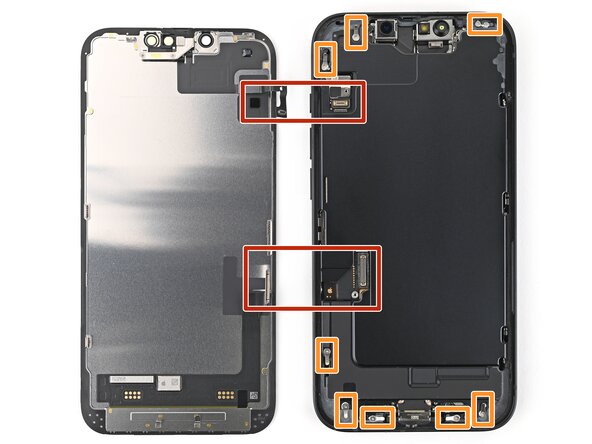
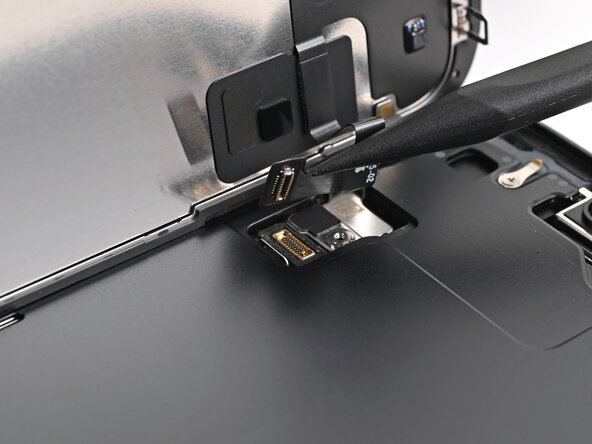
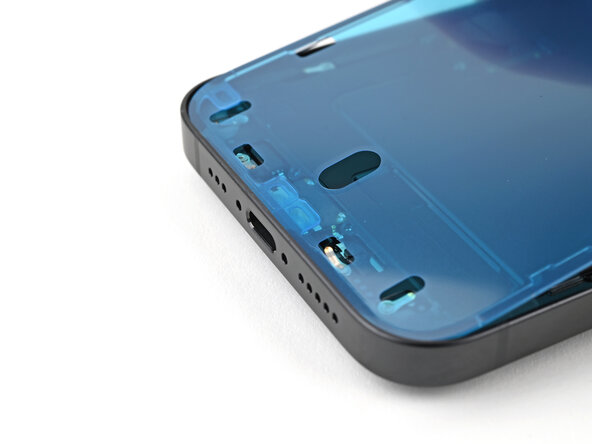
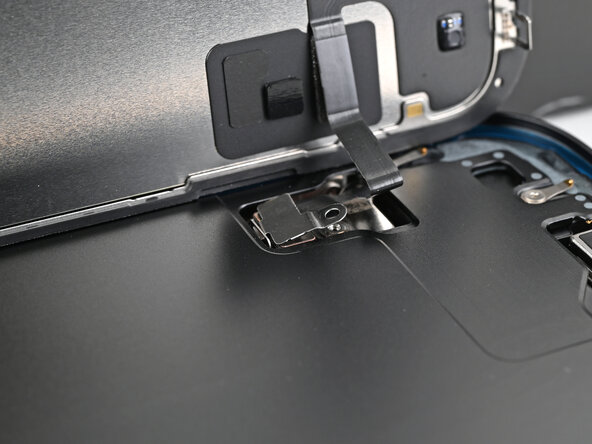
- There are two fragile cables connecting the screen to the phone. One is near the Action button, and the other is about halfway between the volume down button and the bottom of the device.
- You'll also find several spring contacts around the phone's edges.
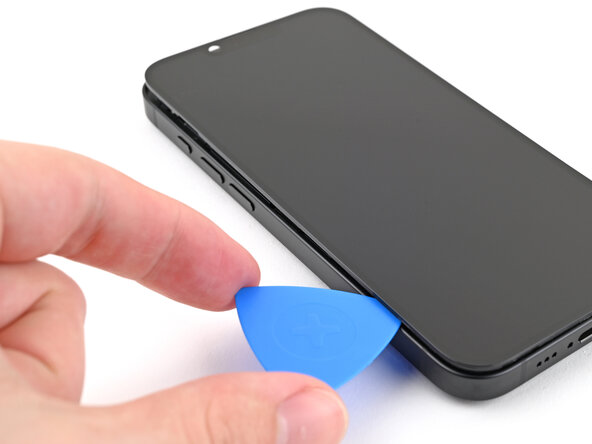
Step 8

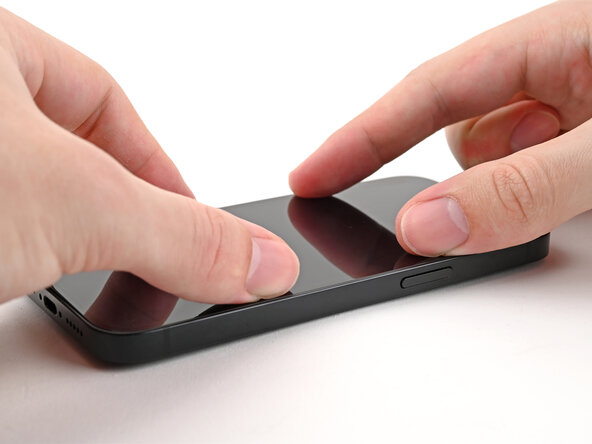
- Gently slide the opening pick along the bottom edge to carefully separate the adhesive. Keep the pick in the bottom right corner to hold the gap open as you work.
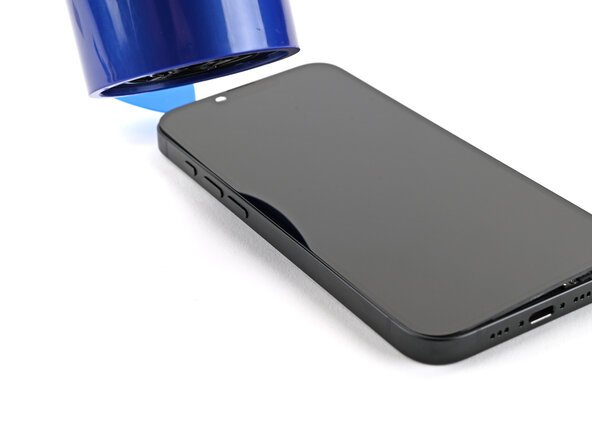
Step 9
- Warm up the right edge of the screen until it feels nice and toasty.
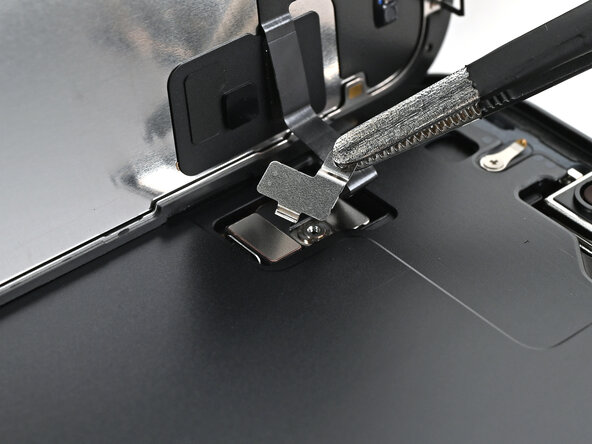
Step 10
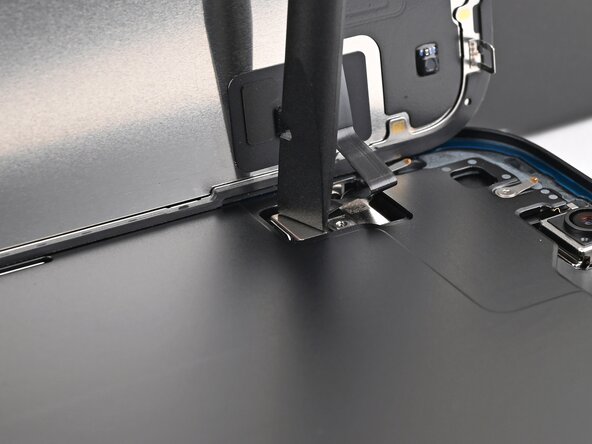
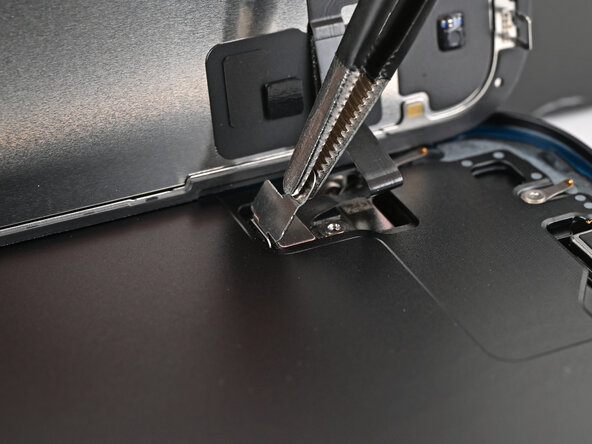
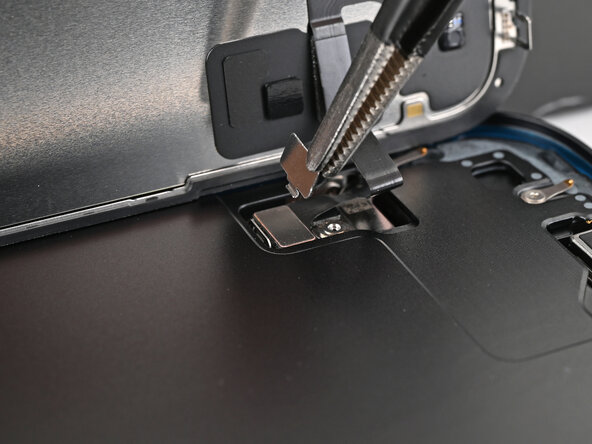
You'll notice and hear that satisfying click when the metal clip pops free as you slide it out. Easy as that!
- Gently slide your opening pick around the bottom right corner and work it up the right edge of the screen. This will help break the adhesive and release the metal clip, giving you access to the next step.
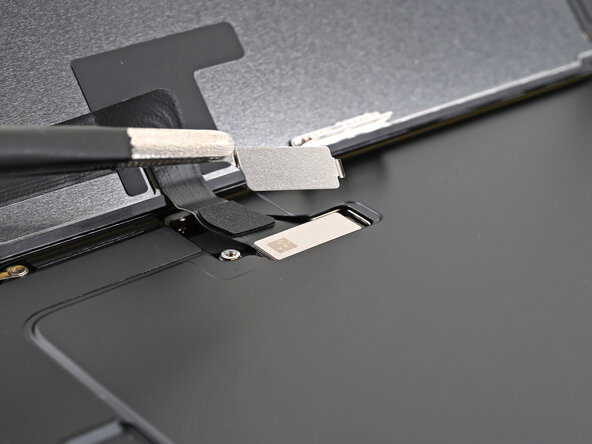
Step 11
- Warm up the top edge of the screen until it feels warm to the touch, making it easier to work with during the repair process.
Step 12
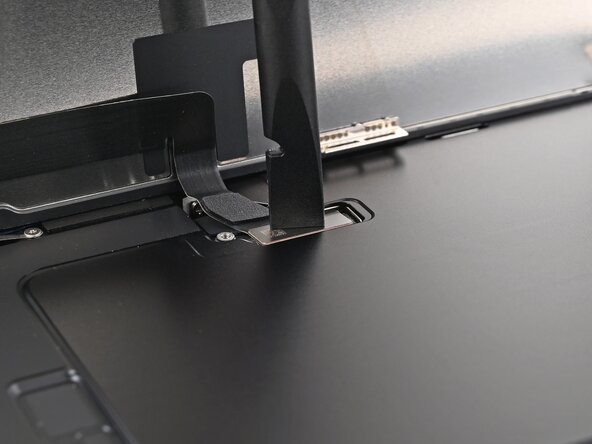
- Slide your pick around the top right corner and along the top edge to loosen the adhesive and free up those two metal clips. You're almost there!
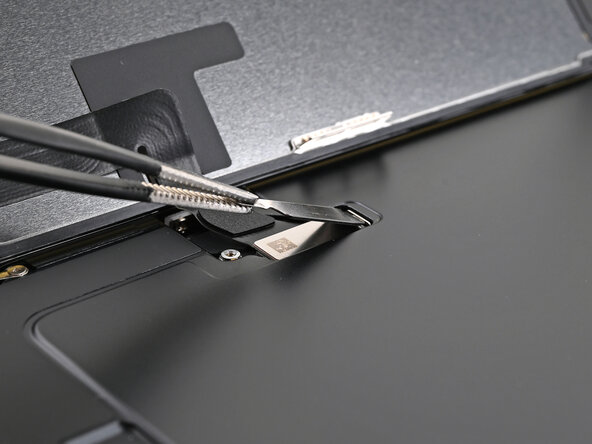
Step 13
- Warm up the left edge of the screen until it feels cozy to the touch.
Step 14

- Gently slide the opening pick along the left side of the screen to break apart any remaining adhesive and pop off the last two metal clips. You're almost there!
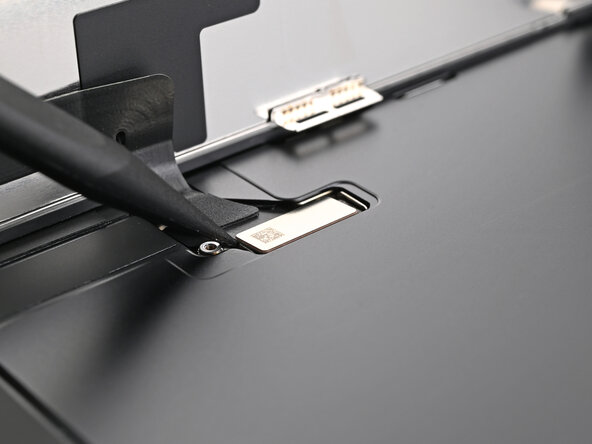
Step 15

By now, your screen should be loose from the frame. If it’s feeling stubborn, just go around the edges again with your pick to double-check for any adhesive that’s still holding on or clips that need a gentle nudge. Keep at it—patience pays off!
- Gently open the screen over the left edge of the phone and prop it up securely with a clean, sturdy object. Keep it steady to make the next steps easier.
Step 16
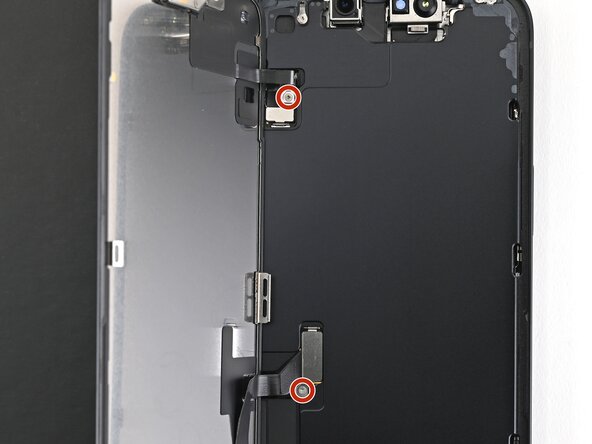
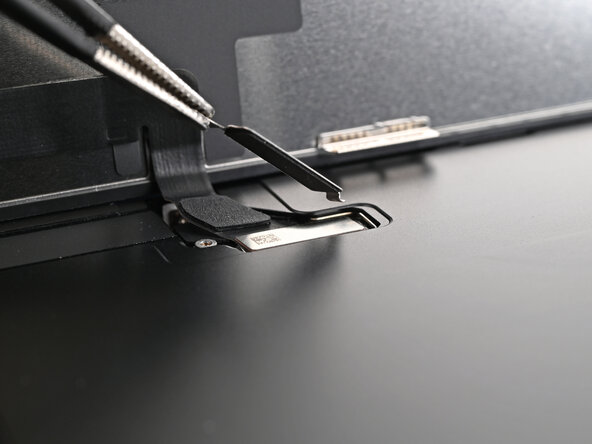
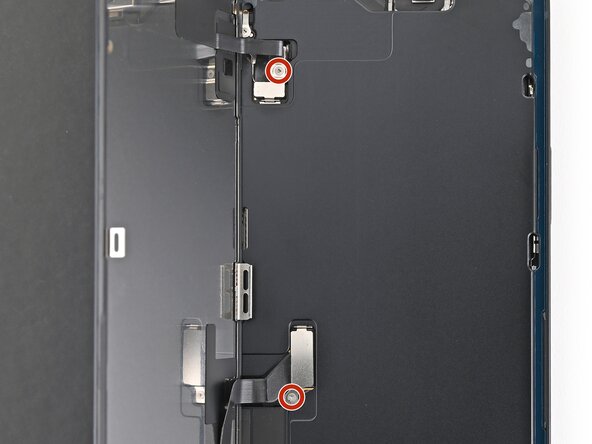
- Grab a tri-point Y000 screwdriver and gently remove the two tiny 0.9 mm screws that hold in the front sensor connector and the screen connector covers. Keep those screws safe—you'll need them later!
Tools Used

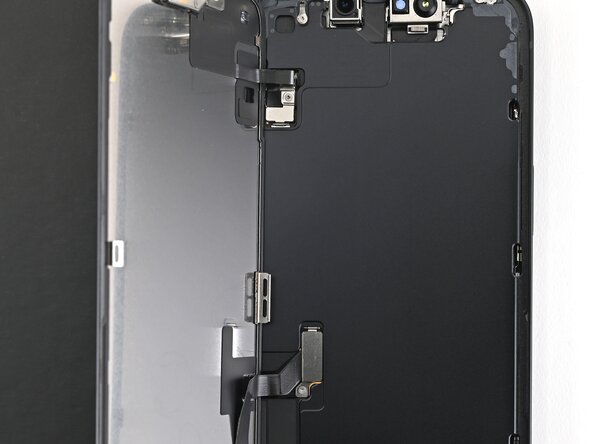
Step 17

- Grab your trusty tweezers or use your fingers to gently lift the front sensor cover up to a 90-degree angle. Carefully unhook it from its snug spot on the logic board. Then, lift out the cover and set it aside—you're making progress!
Tools Used

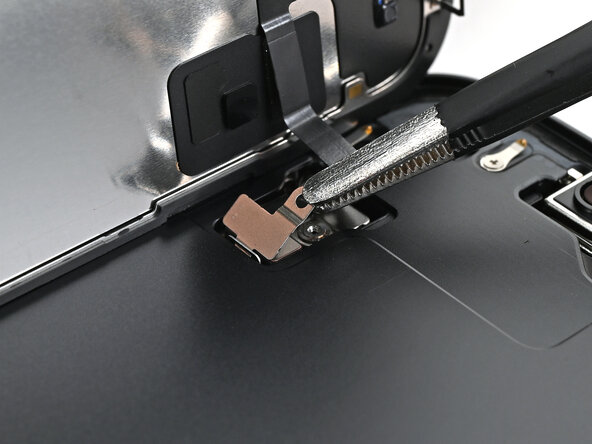
Step 18

- Grab some tweezers or just your fingertips and gently lift the screen connector cover at a slight angle—think of it as unhooking it from the logic board's slot.
- Once free, lift out the cover and set it aside. Easy peasy!
Tools Used
Step 19
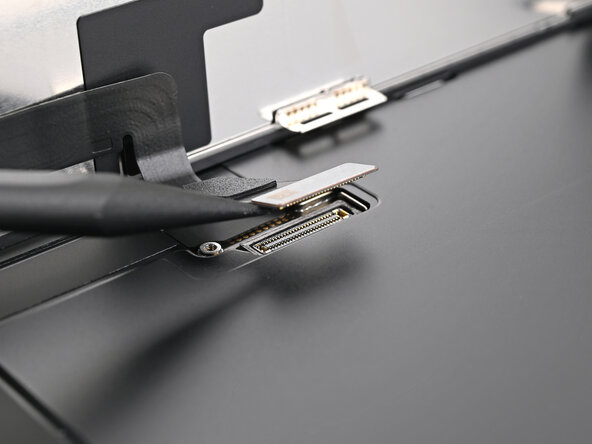
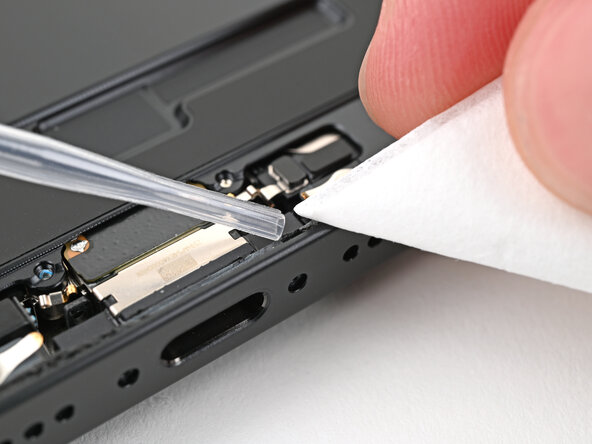
- Gently use the tip of a spudger to lift and disconnect the screen press connector.
- Do the same for the front sensor press connector.
Tools Used

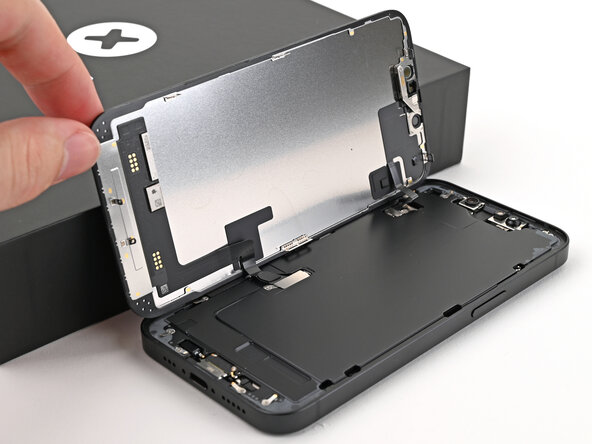
Step 20
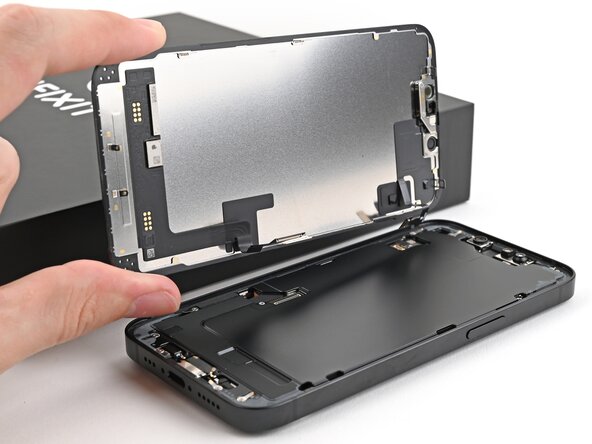
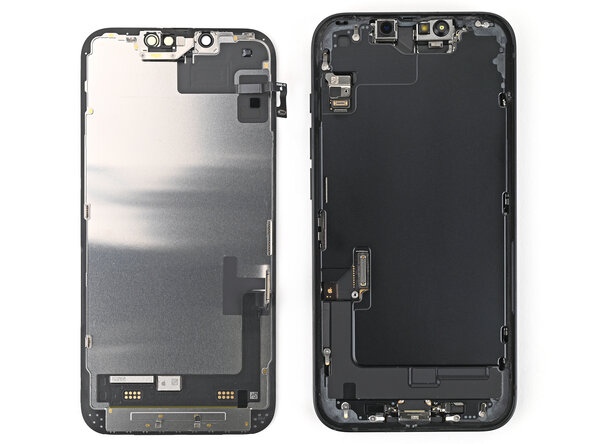
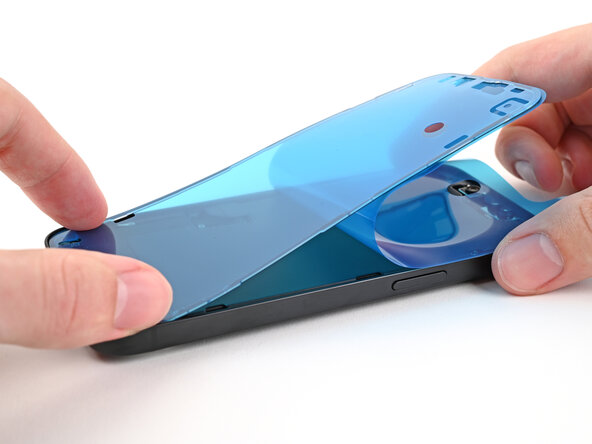
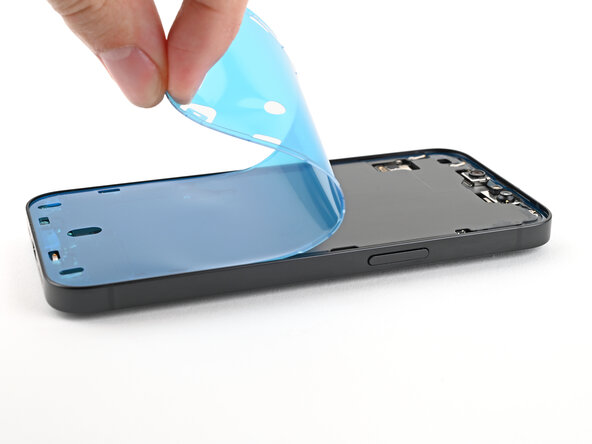
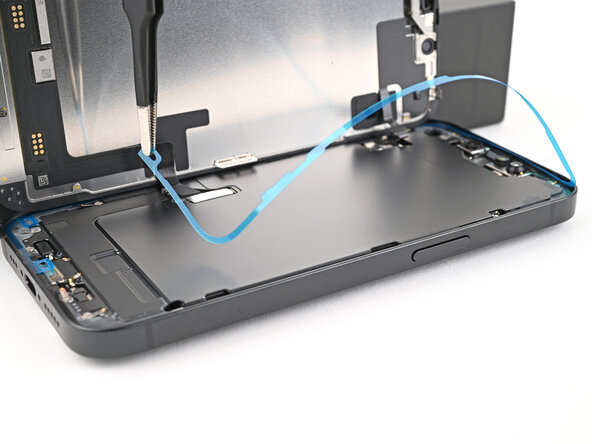
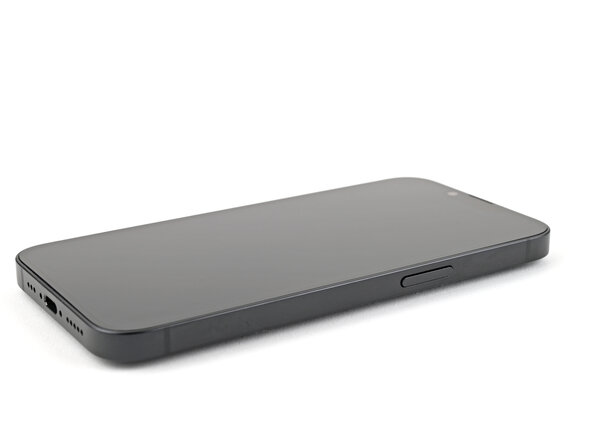
- Gently lift the screen off the frame and set it aside. Take your time, it’ll come off with just a little nudge.
Step 21
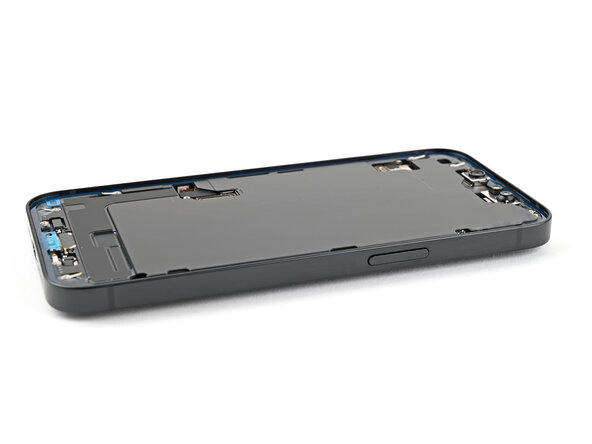
- You're all set! The last steps will guide you through putting your device back together smoothly. Keep going, you're almost there!
Step 22
Grab the adhesive with the pointed end of a spudger and give it a gentle squeeze to bunch it up. Then, carefully lift it with tweezers to make the next step easier.
Step 23
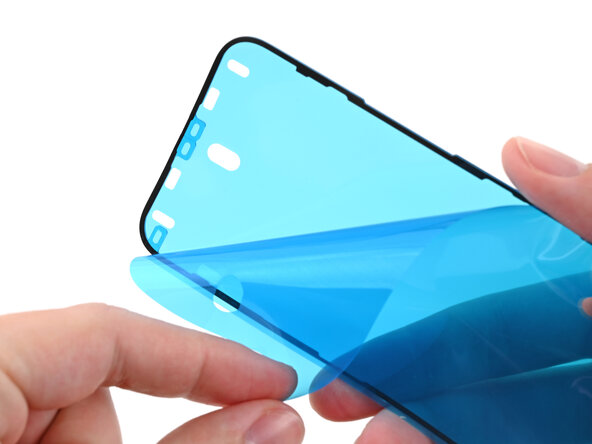
Your adhesive might have a slightly different look, but don't worry—it'll still do the job!
- Place the adhesive on the phone, making sure to align it properly. Use features like the cutouts for the spring contacts and front-facing camera to help guide the adhesive into the right position. It's all about getting it just right for a perfect fit!
Step 24
Once you press the adhesive into place, it’s a one-way street—no going back. If you need a new sticky, you’ll have to peel it off and start fresh with fresh adhesive.
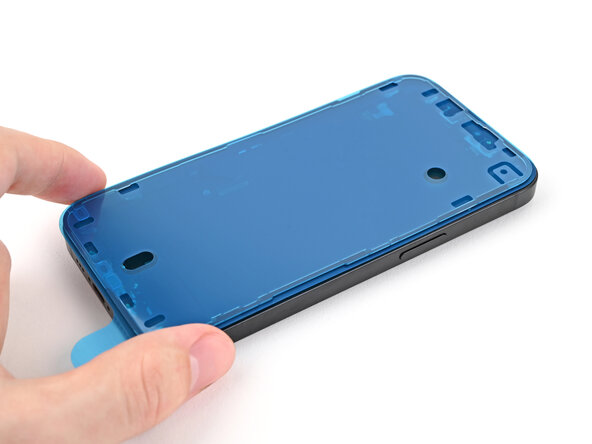
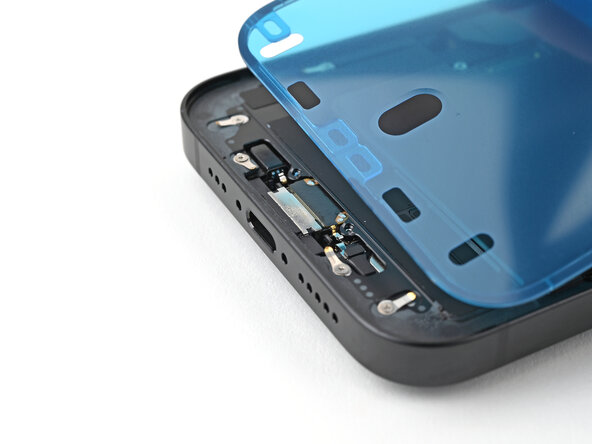
- Grab the pull tab and gently peel back the back liner to reveal the adhesive, starting from the bottom—don't pull it all the way off just yet.
- Keep the blue liner out of the way, then carefully align the adhesive with the bottom edge of the iPhone.
- Set the bottom edge of the adhesive into its slot in the frame, making sure the spring contacts of the iPhone line up with the cutouts in the liner.
Step 25
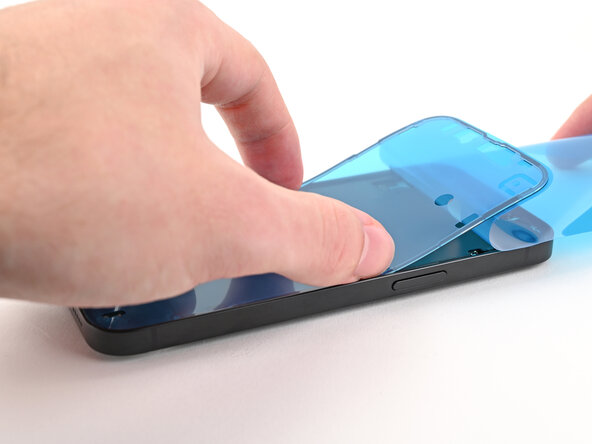
- Peel off the back liner from the adhesive, while gently pressing it down along the edges of your iPhone’s frame to make sure it's secure.
If you line up the bottom edge of the adhesive just right, the sides and top will slide into place smoothly. If it’s off, no worries—peel it back, clean it up, and try again with fresh adhesive. And if you’re in a pinch and don’t have new adhesive on hand, you can pop your device back together temporarily and keep using it—just remember, water resistance won’t be perfect until you replace the adhesive properly.
Step 26
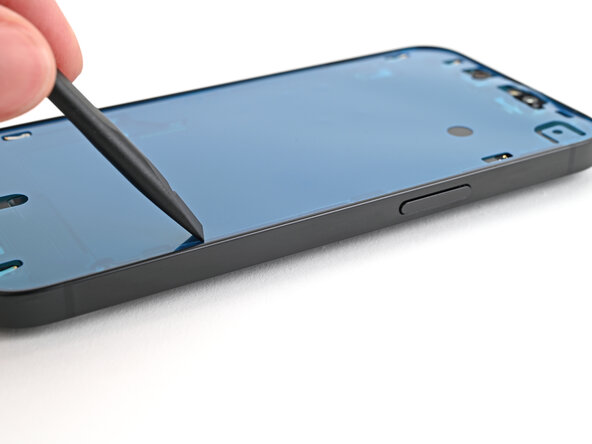
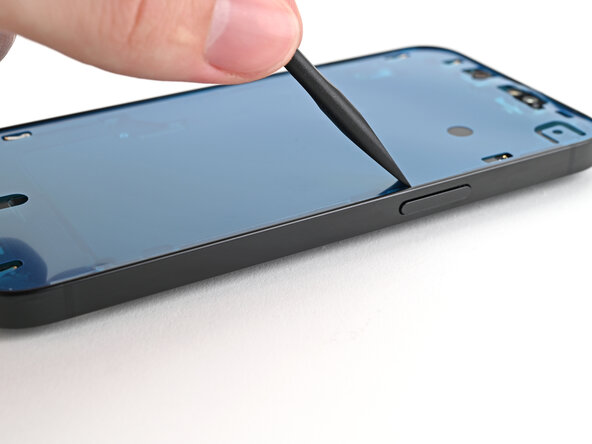
- Using the flat end of a spudger, gently press the adhesive into place around the frame's edge. Keep it steady and even for a secure fit.
Tools Used
Step 27

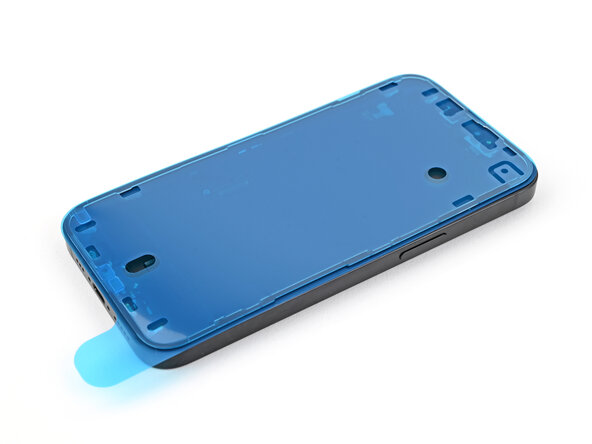
- Gently use the spudger's tip to lift the pull tab on the top right corner of the blue adhesive liner. Once it’s loose, you should be able to grab it with your fingers.
Tools Used
Step 28

- Grab the pull tab and gently peel off the blue liner from the frame.
Step 29
- Lean the screen against a sturdy surface or a box, propping up the left edge of the iPhone to keep it steady during the process.
- Gently press the screen press connector with the flat end of a spudger or just use your finger to disconnect it.
- Repeat the same careful disconnect for the front sensor press connector.
Tools Used
Step 30
- Carefully align the top of the screen connector cover with its slot in the frame and gently place it over the press connector.
Step 31
- Position the front sensor connector cover at a 90-degree angle and gently slide it into place in the frame.
- Carefully place the cover over the press connector, making sure it sits snugly.
Step 32
- Grab your trusty tri-point Y000 screwdriver and carefully install the two 0.9 mm-long screws that hold down the front sensor connector and the screen connector covers. Keep at it — you’re getting closer!
Tools Used
Step 33
- Grab the blue pull tab with your tweezers or fingers, and gently peel back the liner from the right edge. You got this!
- Hold the screen above the phone, keeping it clear of the sticky stuff. Now, go ahead and peel off the other two liners. Easy does it!
Tools Used
Step 34
- Gently hold the screen above the device and carefully line it up with the frame, making sure everything is aligned perfectly before you press it into place.
Step 35
- Gently place the screen flat onto the frame and press down until all the clips snap into place.
- Press around the edge of the screen to make sure all the clips click in securely.
Step 36

- Warm up the edges of the screen with an iOpener, hair dryer, or heat gun until they're pleasantly hot—this makes the adhesive stick like a champ.
- If you have screen vise clamps, pop them on to give the new adhesive some extra grip. No clamps? No problem—keep reading for other ways to make the screen stick nicely.
Tools Used
Step 37

To make sure your iPhone's screen stays snug and the bond stays strong, don't forget to account for the camera bump. And if you're missing your original box, no worries—just skip this step and try an alternative method. Stay confident, and you'll have that device back in shape in no time!
- If you still have the original box your iPhone came in, start by placing the lid on a flat surface. Next, position your iPhone screen-side-up inside the lid, aligning it with the camera bump in its designated recess. Find an object slightly taller than the sides of the box but close in size to your iPhone, then stack it on top of your device. Secure everything with a few heavy objects to keep it steady. Allow it to sit undisturbed for at least thirty minutes; if the objects are on the lighter side, consider leaving them in place longer, preferably overnight, for optimal results.
Step 38

No original box for your iPhone? No worries! Just follow these three simple steps for another quick way to get that screen nice and flat. Salvation Repair's got your back for a smooth fix!
- Gently place the iPhone screen-side-down on a soft, flat surface to start. Then, apply some tape to the back glass to keep it protected and shiny during the process.
Step 39

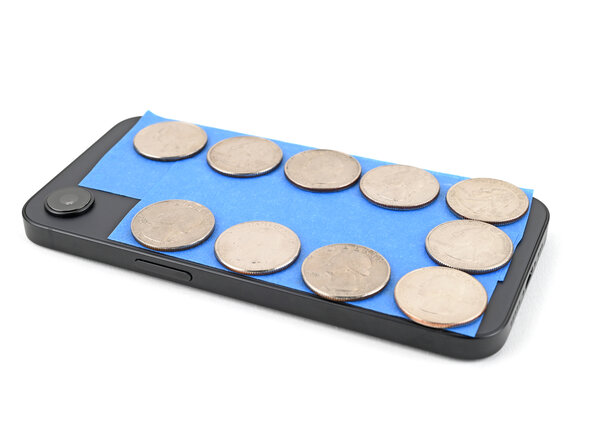
Depending on how thick those coins are, you may need to stack a few layers to get the right fit.
- Stack a layer of coins or similar sturdy objects along the edges of the back glass, acting as an even buffer.
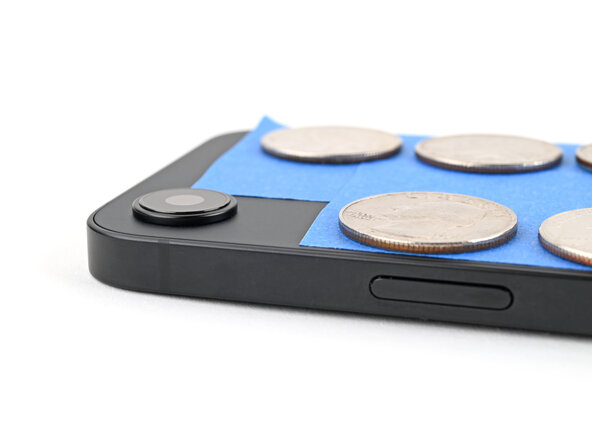
- Distribute the coins evenly, making sure they're thick enough—at least as tall as the camera bump—to keep everything in place.
Step 40

Heads up: Coins can leave dents or impressions on the bottom piece, so steer clear of using anything valuable or tricky!
- Pile up a few books or other heavy stuff on your iPhone. Keep them sitting there for at least thirty minutes — lighter objects may need a bit more chill time, so consider leaving them overnight for best results. Your device will thank you!
Step 41


- Once you're done with your repair, don't forget to calibrate your brand-new screen with Apple's Repair Assistant. Head to Settings → General → About → Parts & Service History, tap Restart & Finish Repair, and follow the easy steps on screen.
- Got old tech lying around? Make sure to recycle it responsibly by taking it to an R2 or e-Stewards certified recycler.
- If things didn't quite go as planned, no worries! Try a bit of troubleshooting or pop over to our iPhone 16e Answers Community for some advice.
- One more thing: you're good to go!